
This article was originally published on the DeadSimpleChat Blog: https://deadsimplechat.com/blog/python-django-chat-app-tutorial/
In this article we are going to learn how to build a Django chat app. We a going to scaffold a new project from scratch and build our way to a complete chat application
Prerequisites
- Basic Knowledge of Django and python
- Some HTML and CSS
Step 1 : Scaffolding
let us scaffold a new app with Django and python. We first need to chech whether we have the latest version of Django installed. Type the below command to check the version of Django installed on your system
$ python -m django --version
If you do not have Django installed then you need python 3.8 upwords and you can type the below code to install it
python -m pip install DjangoCreating a project
From the command line run the below command to scaffold a new project.
django-admin startproject mysiteNow open the code in your favorite editor. I am using vscode. let us look at the files the startproject has created for us.
mysite: is the root directory that contains all your project files
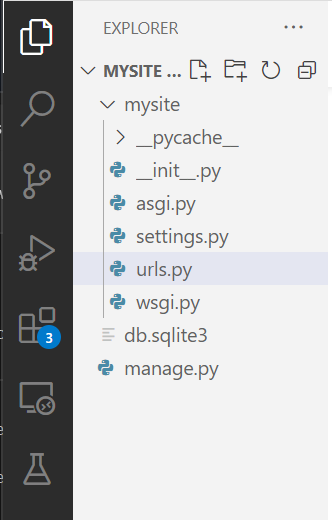
manage.py A command line utility that lets you interact with the Djanfo project in various projects.
mysite/__init__.py An empty file that tells python that this directory should be considered a Python project.
Getting the development server started
type the below command to get the developmernt server started.
python manage.py runserverYou will see the output on the command line itself
Watching for file changes with StatReloader
Performing system checks...

System check identified no issues (0 silenced).
December 26, 2022 - 19:40:13
Django version 4.0.3, using settings 'mysite.settings'
Starting development server at http://127.0.0.1:8000/
Quit the server with CONTROL-C.
If you want to change the port where the server is running then type the below command
python manage.py runserver 8080 (port number where you want the server to run)
Now let us open the url in the browser and see what is rendering at that url.
You will see that a new page has come up with the text written like the install worked successfully! Congratulations!
refer to the image below for details
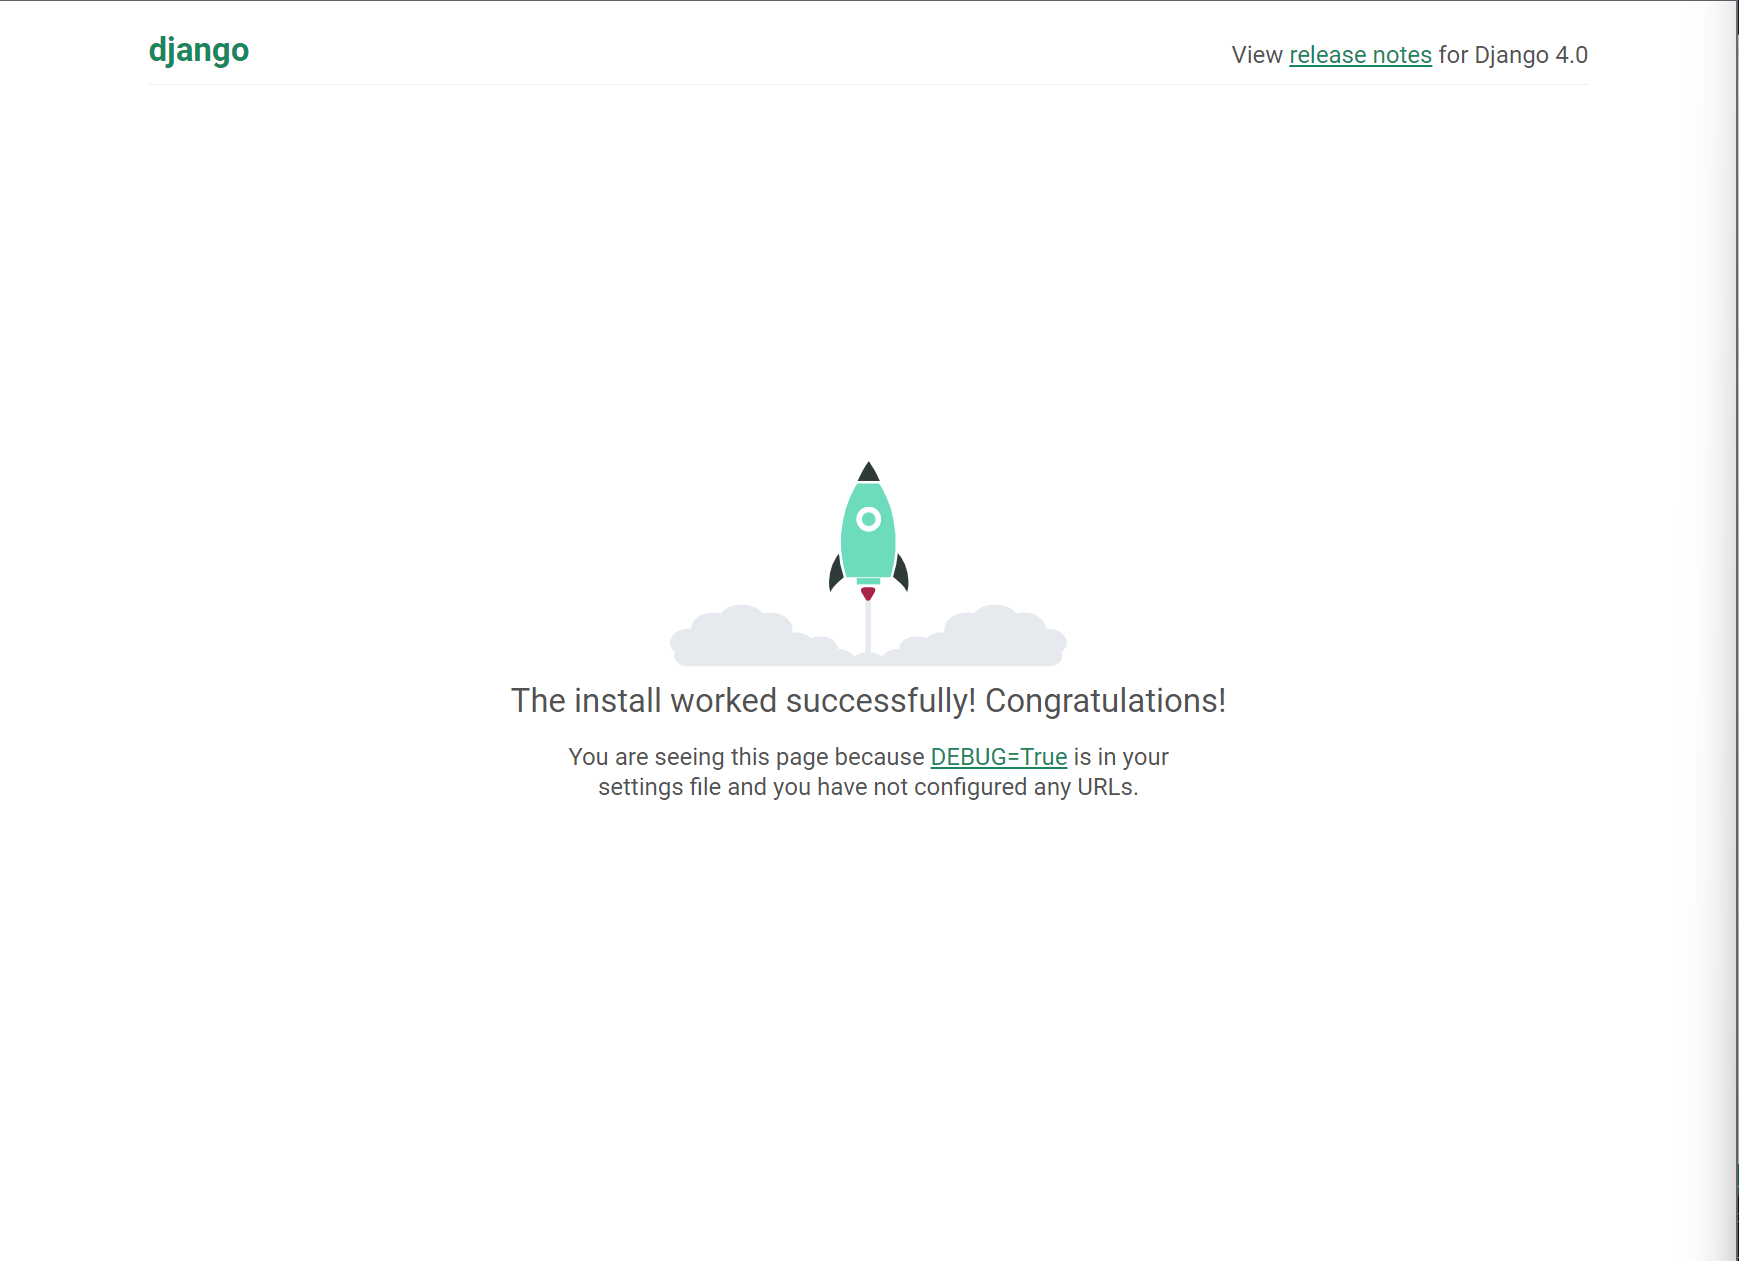
The Django development server is a lightweight server written in python.
Now let us create an app for our chat and let us name it chat app
type the below code to create a python app
$ python manage.py startapp chatThe chat directory will automatically be created by the Django
the chat directory will look like this
chat/
    __init__.py
    admin.py
    apps.py
    migrations/
        __init__.py
    models.py
    tests.py
views.pyNow, open the chat/views.py file and type the below code
from django.http import HttpResponse


def index(request):
return HttpResponse("Hello, world. You're at the Chat index.")We also need to create a URL.conf in the chat directory, create a file called urls.py and paste the below code there
from django.urls import path

from . import views

urlpatterns = [
    path('', views.index, name='index'),
]The next step is to point the root URLconf at the chat.urls module. In mysite/urls.py, add an import for django.urls.include and insert an include() in the urlpatterns list, the complete code looks like this
from django.contrib import admin
from django.urls import include, path

urlpatterns = [
    path('chat/', include('polls.urls')),
    path('admin/', admin.site.urls),
]
Now let us go to the url where the server is running and go to /chat and see what we have

Step 2: Getting a Chat provider
We need a chat provider to add chat to our Django app. go to DeadSimpleChat.com
There click on the Get Started button to create a free account and then you will land up in the Dashboard section
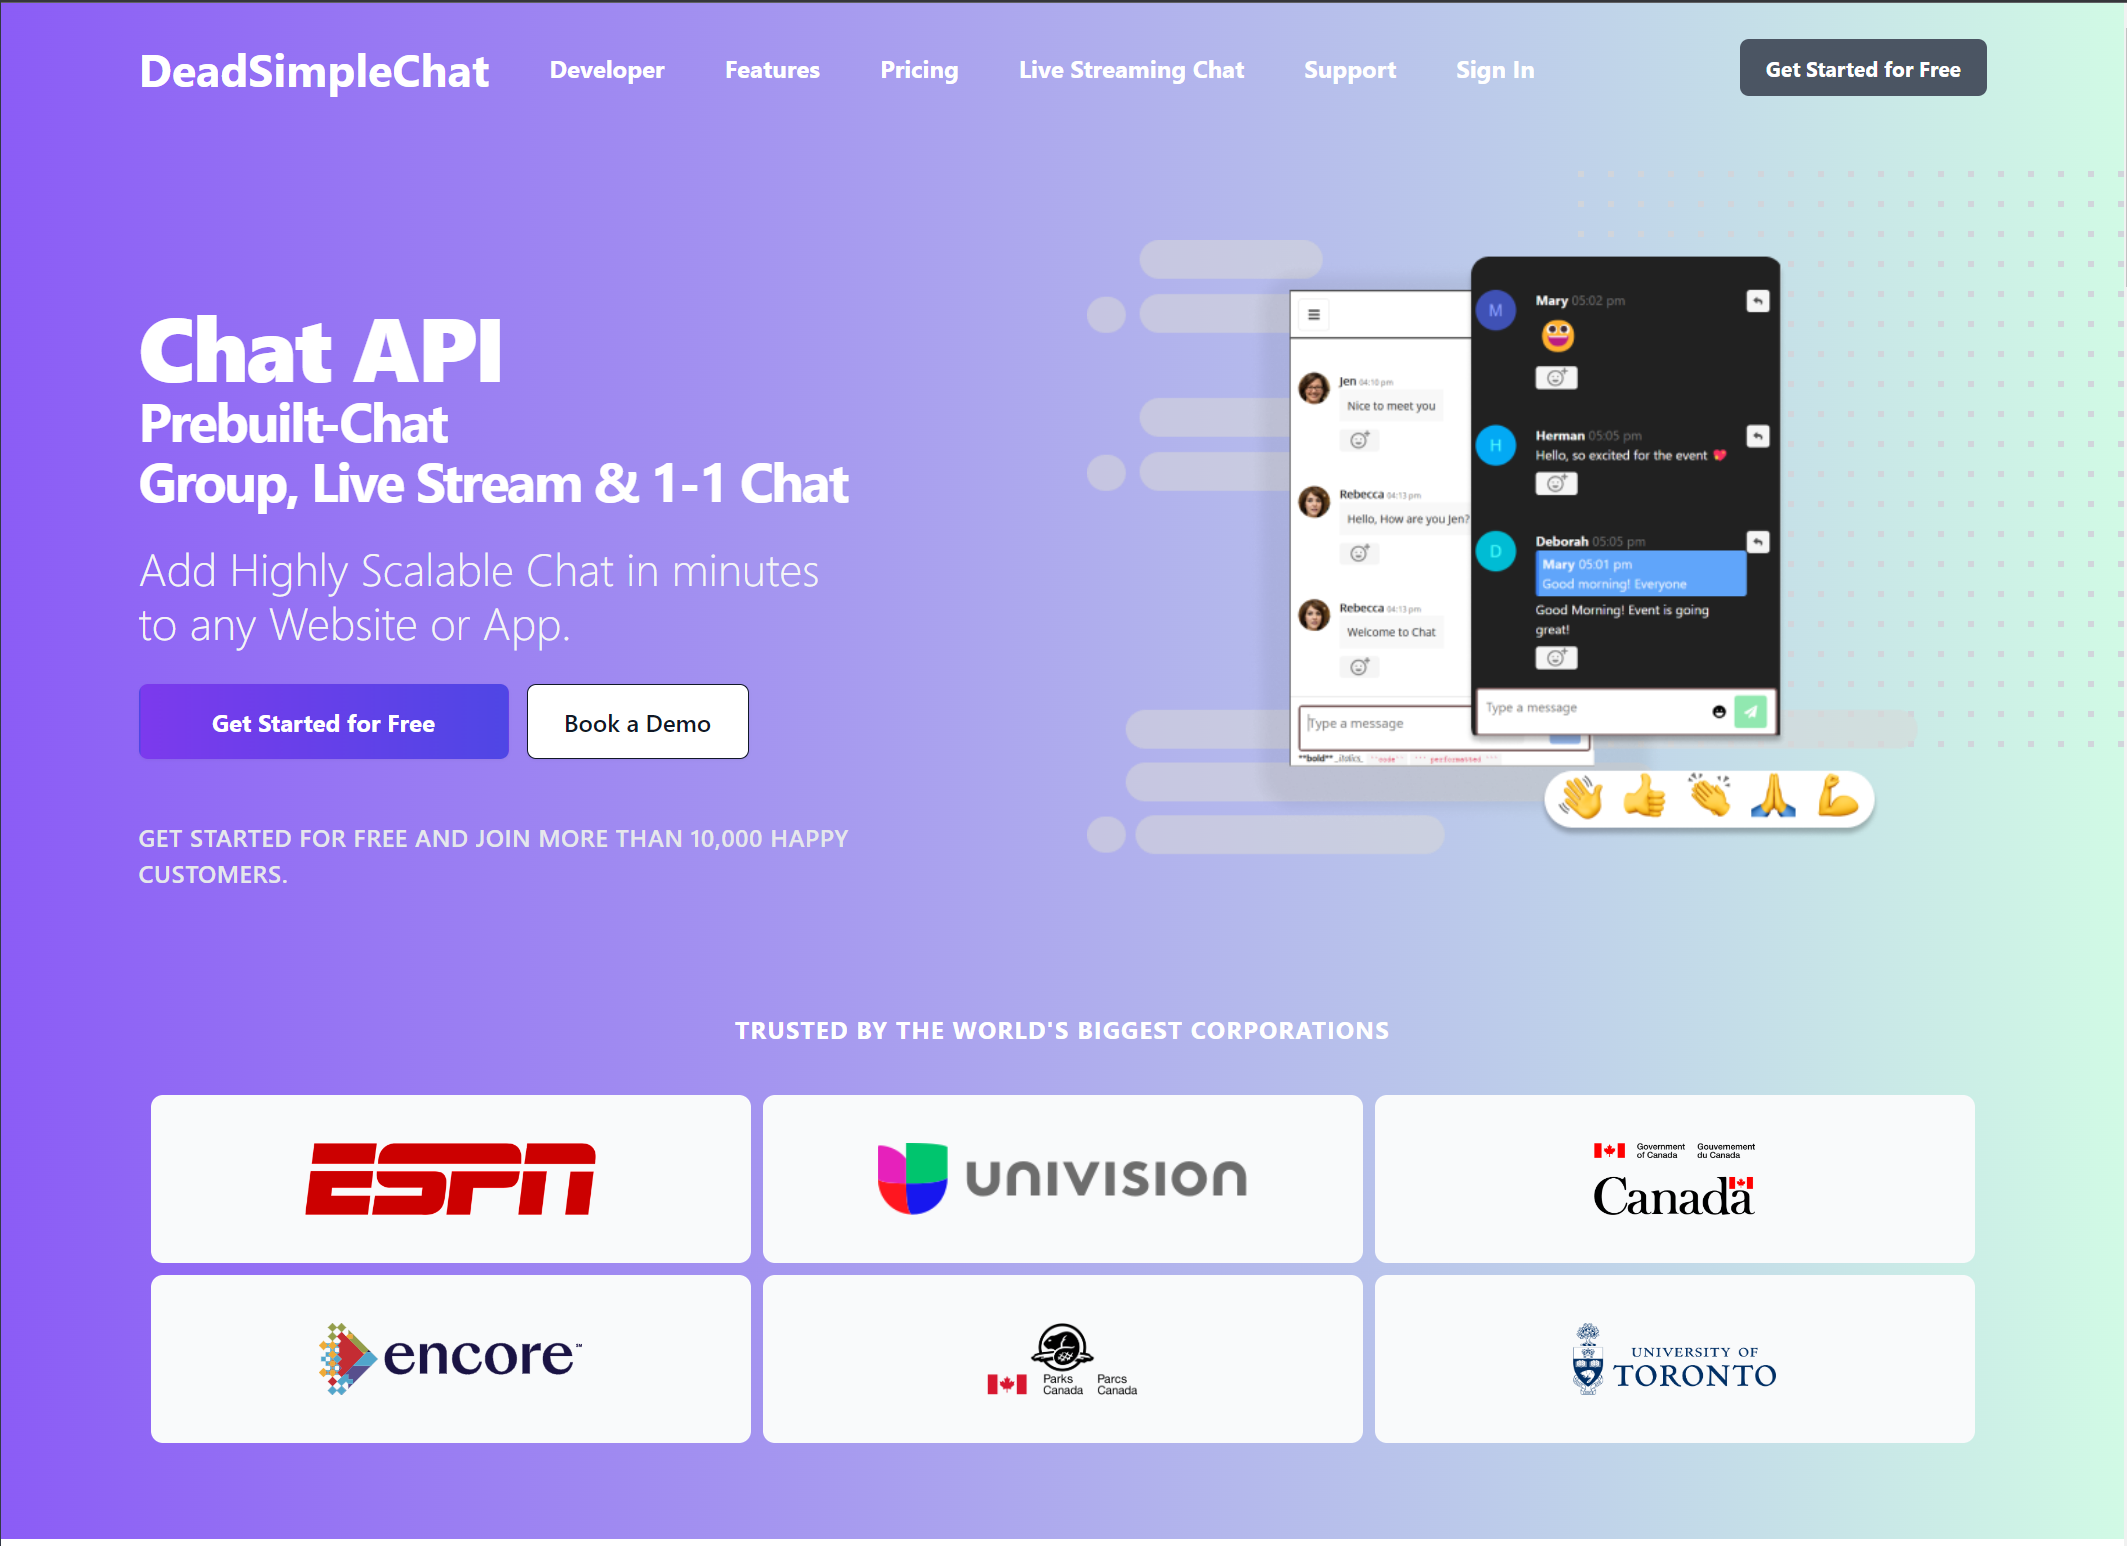
Click on the Get Started button to create a free account
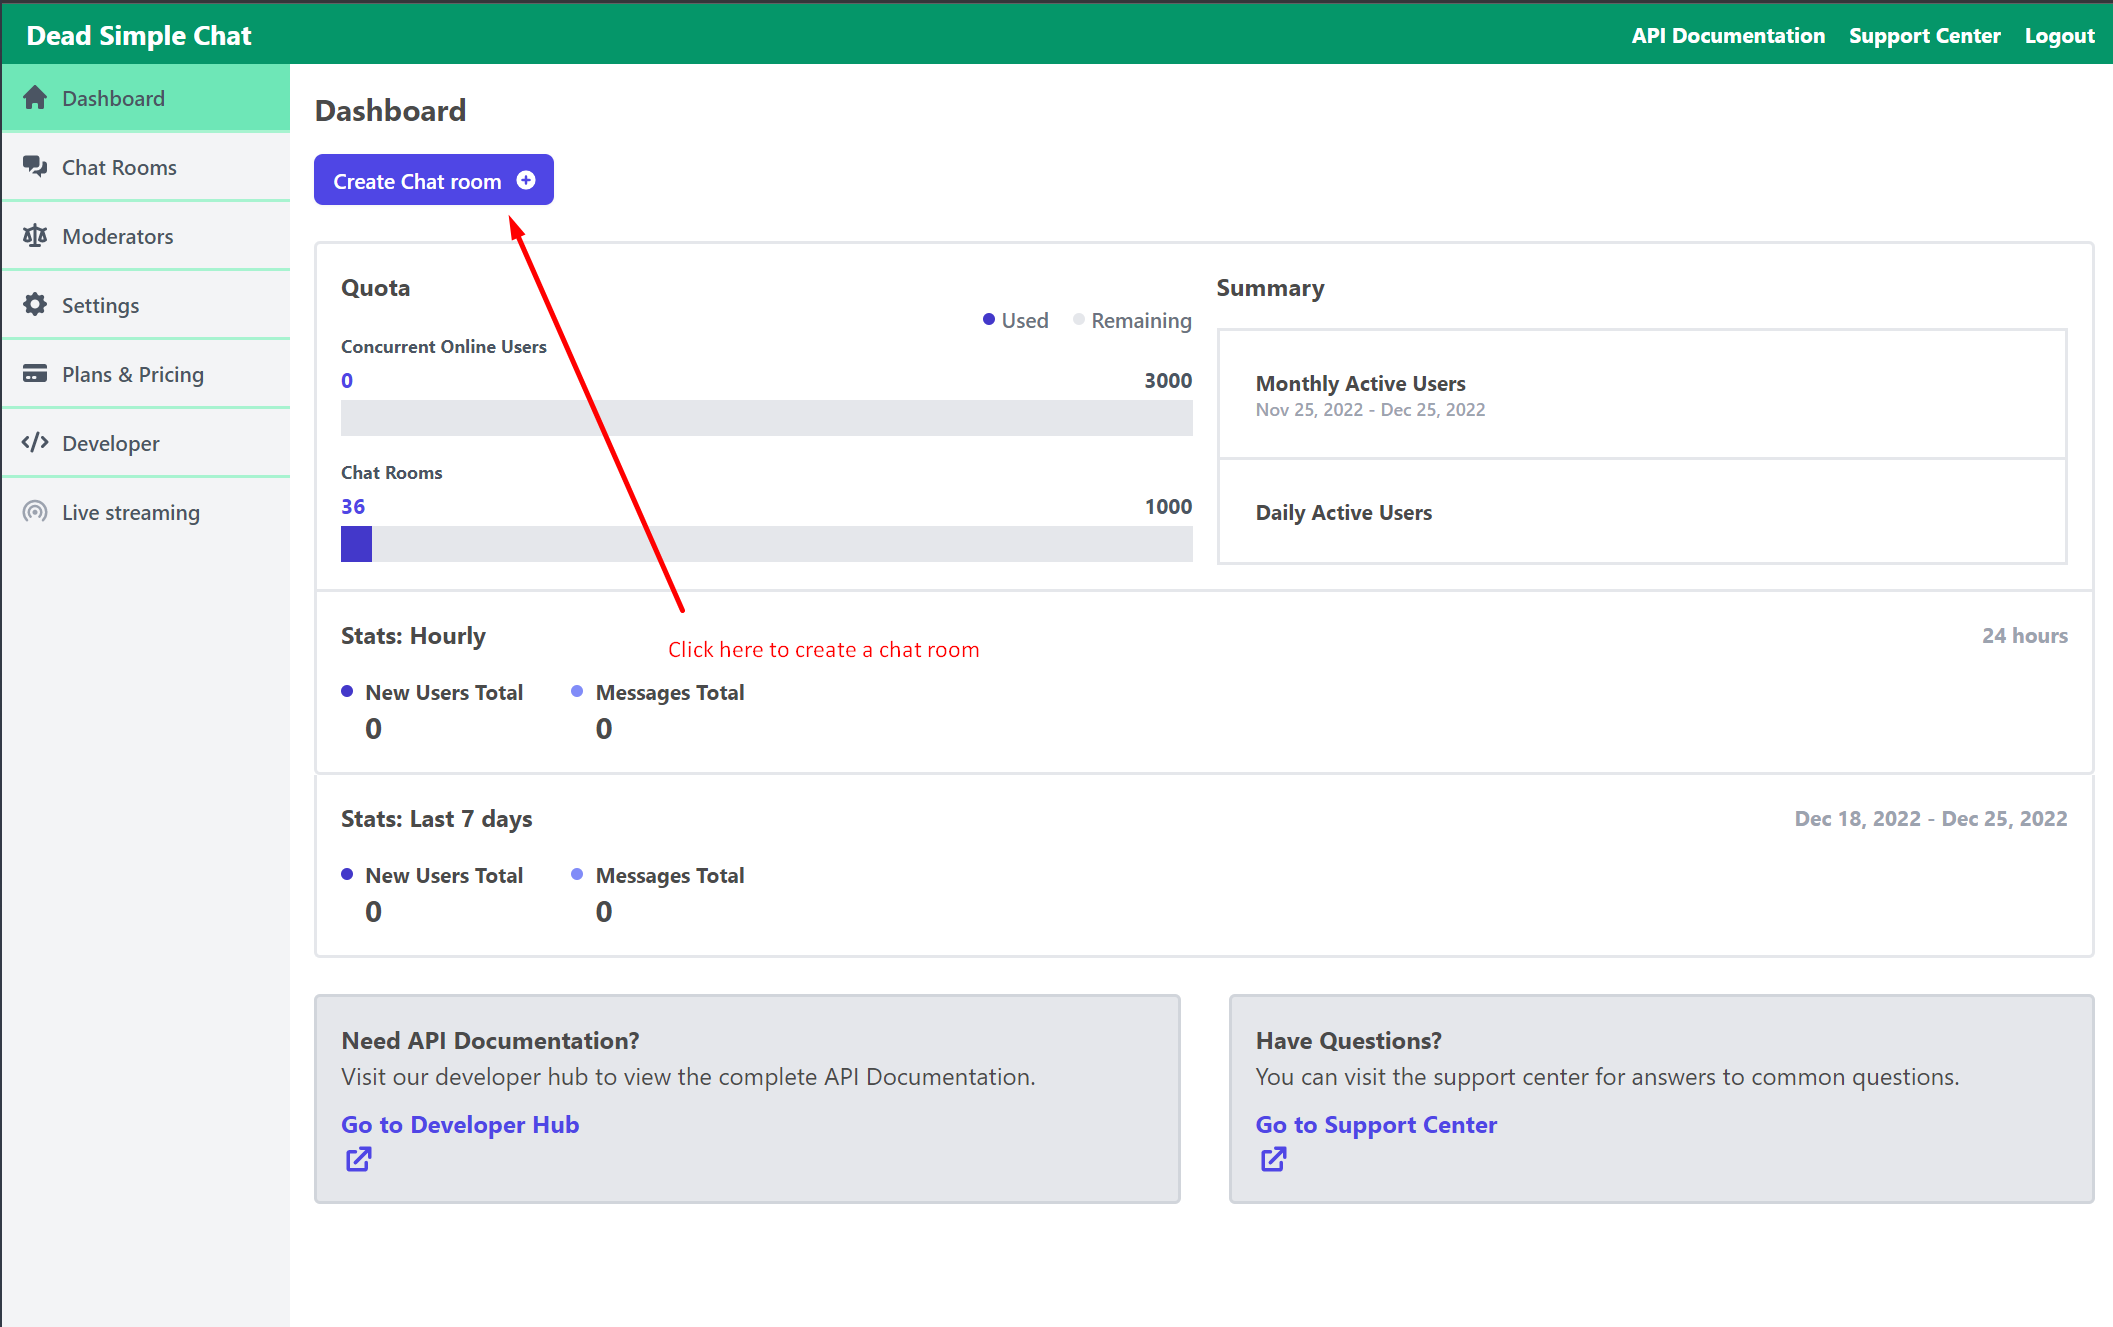
Click on the Create Chat Room button to create a new chat room
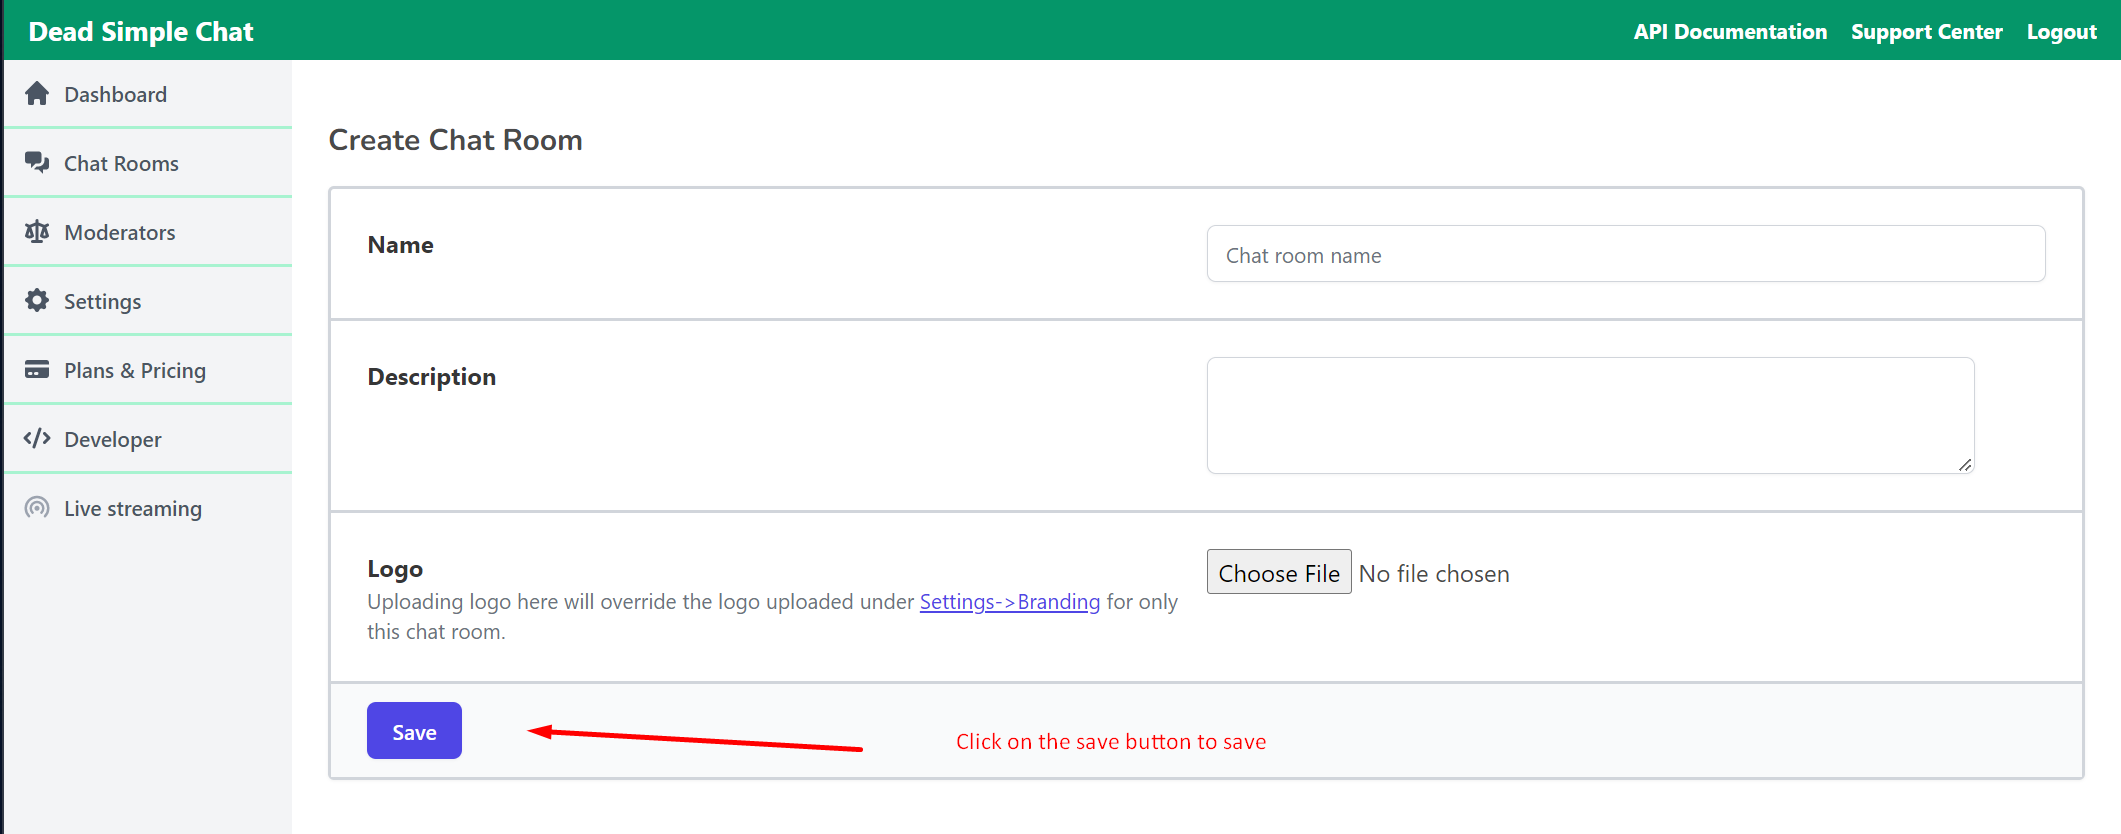
Click on the Save button to save the chat room
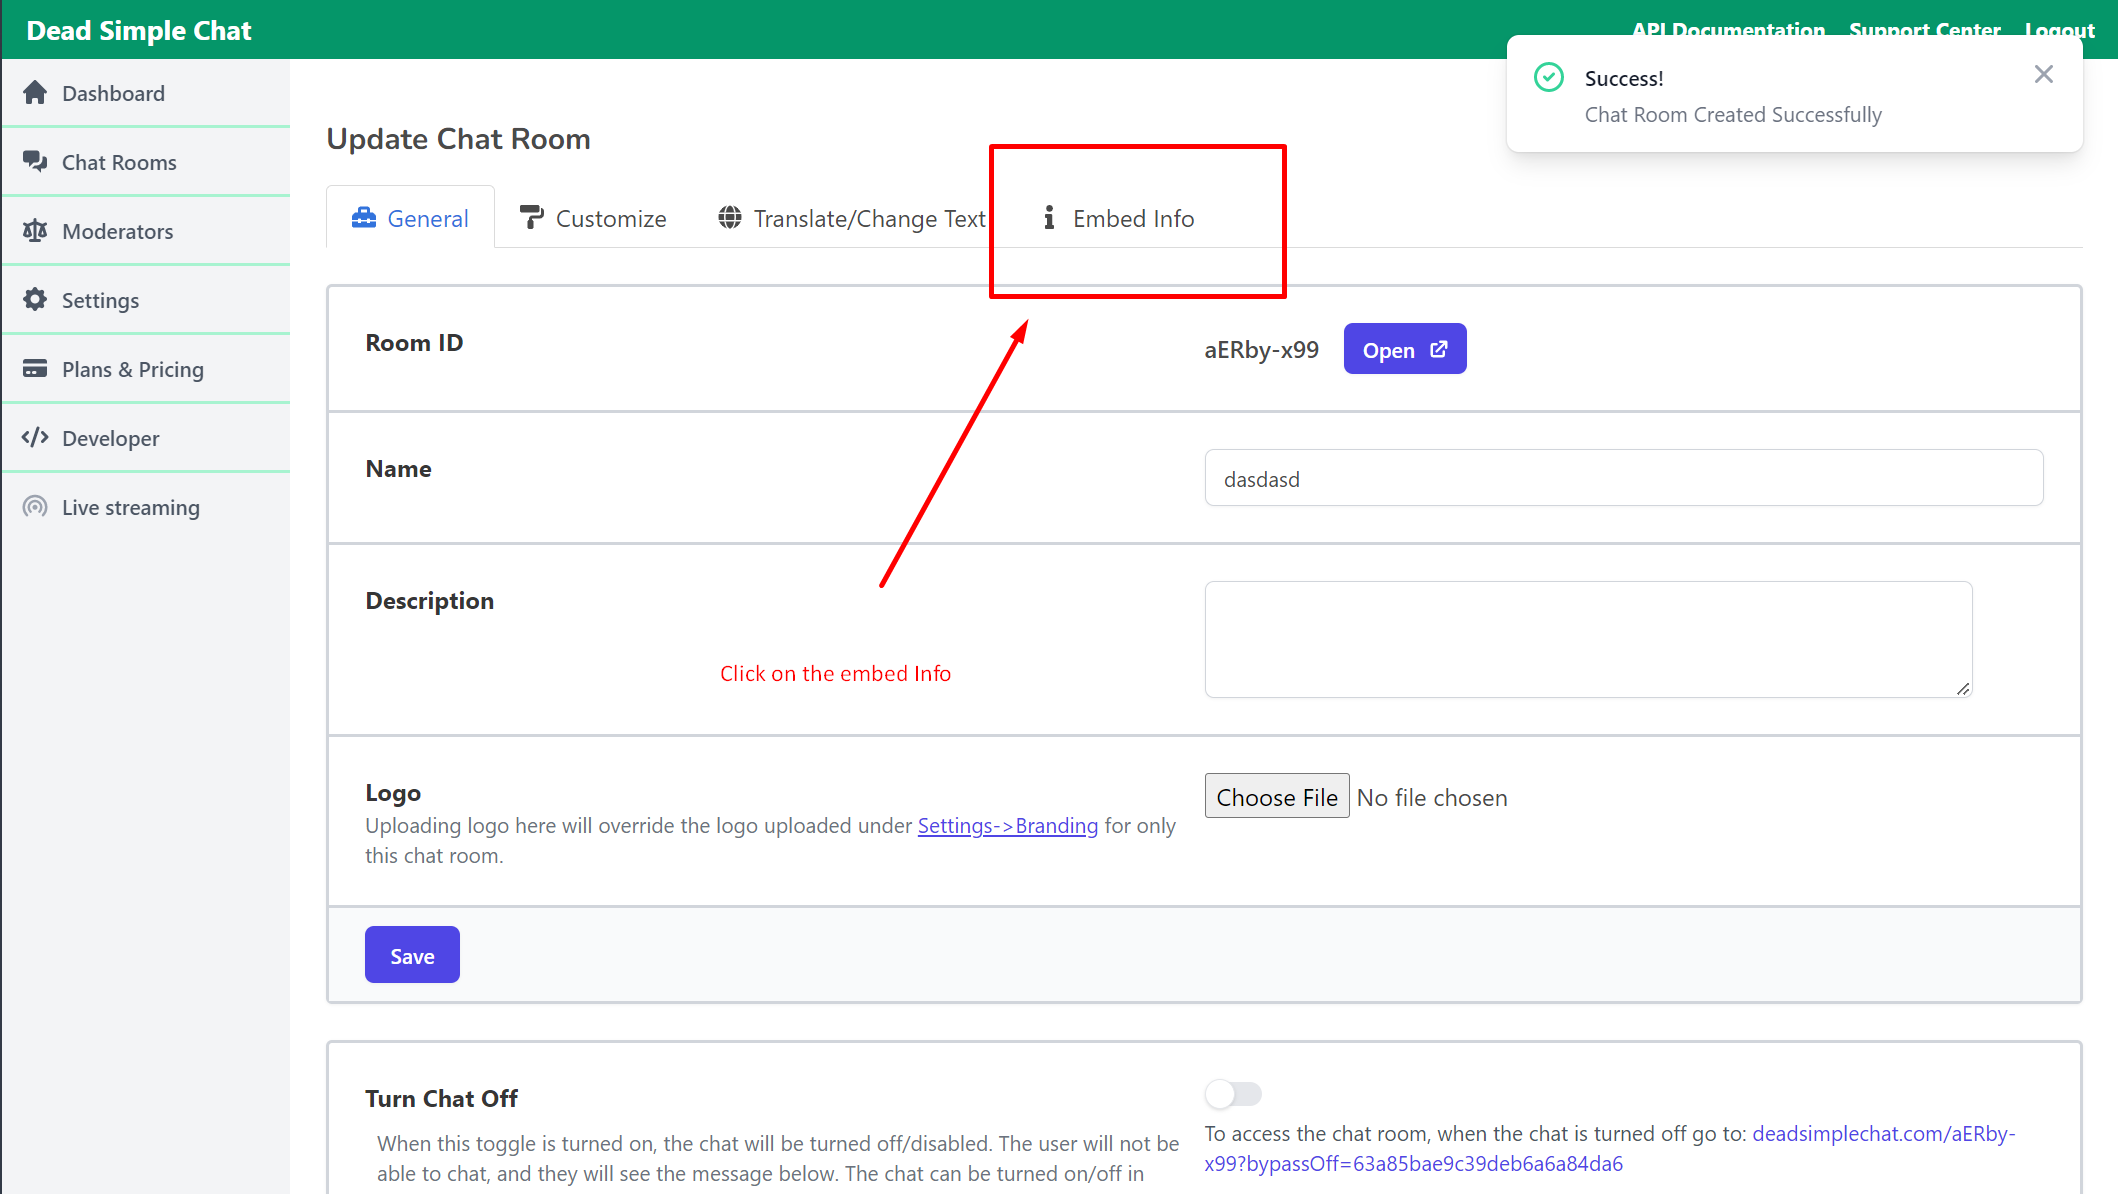
Click on the embed info button to get the Embed information
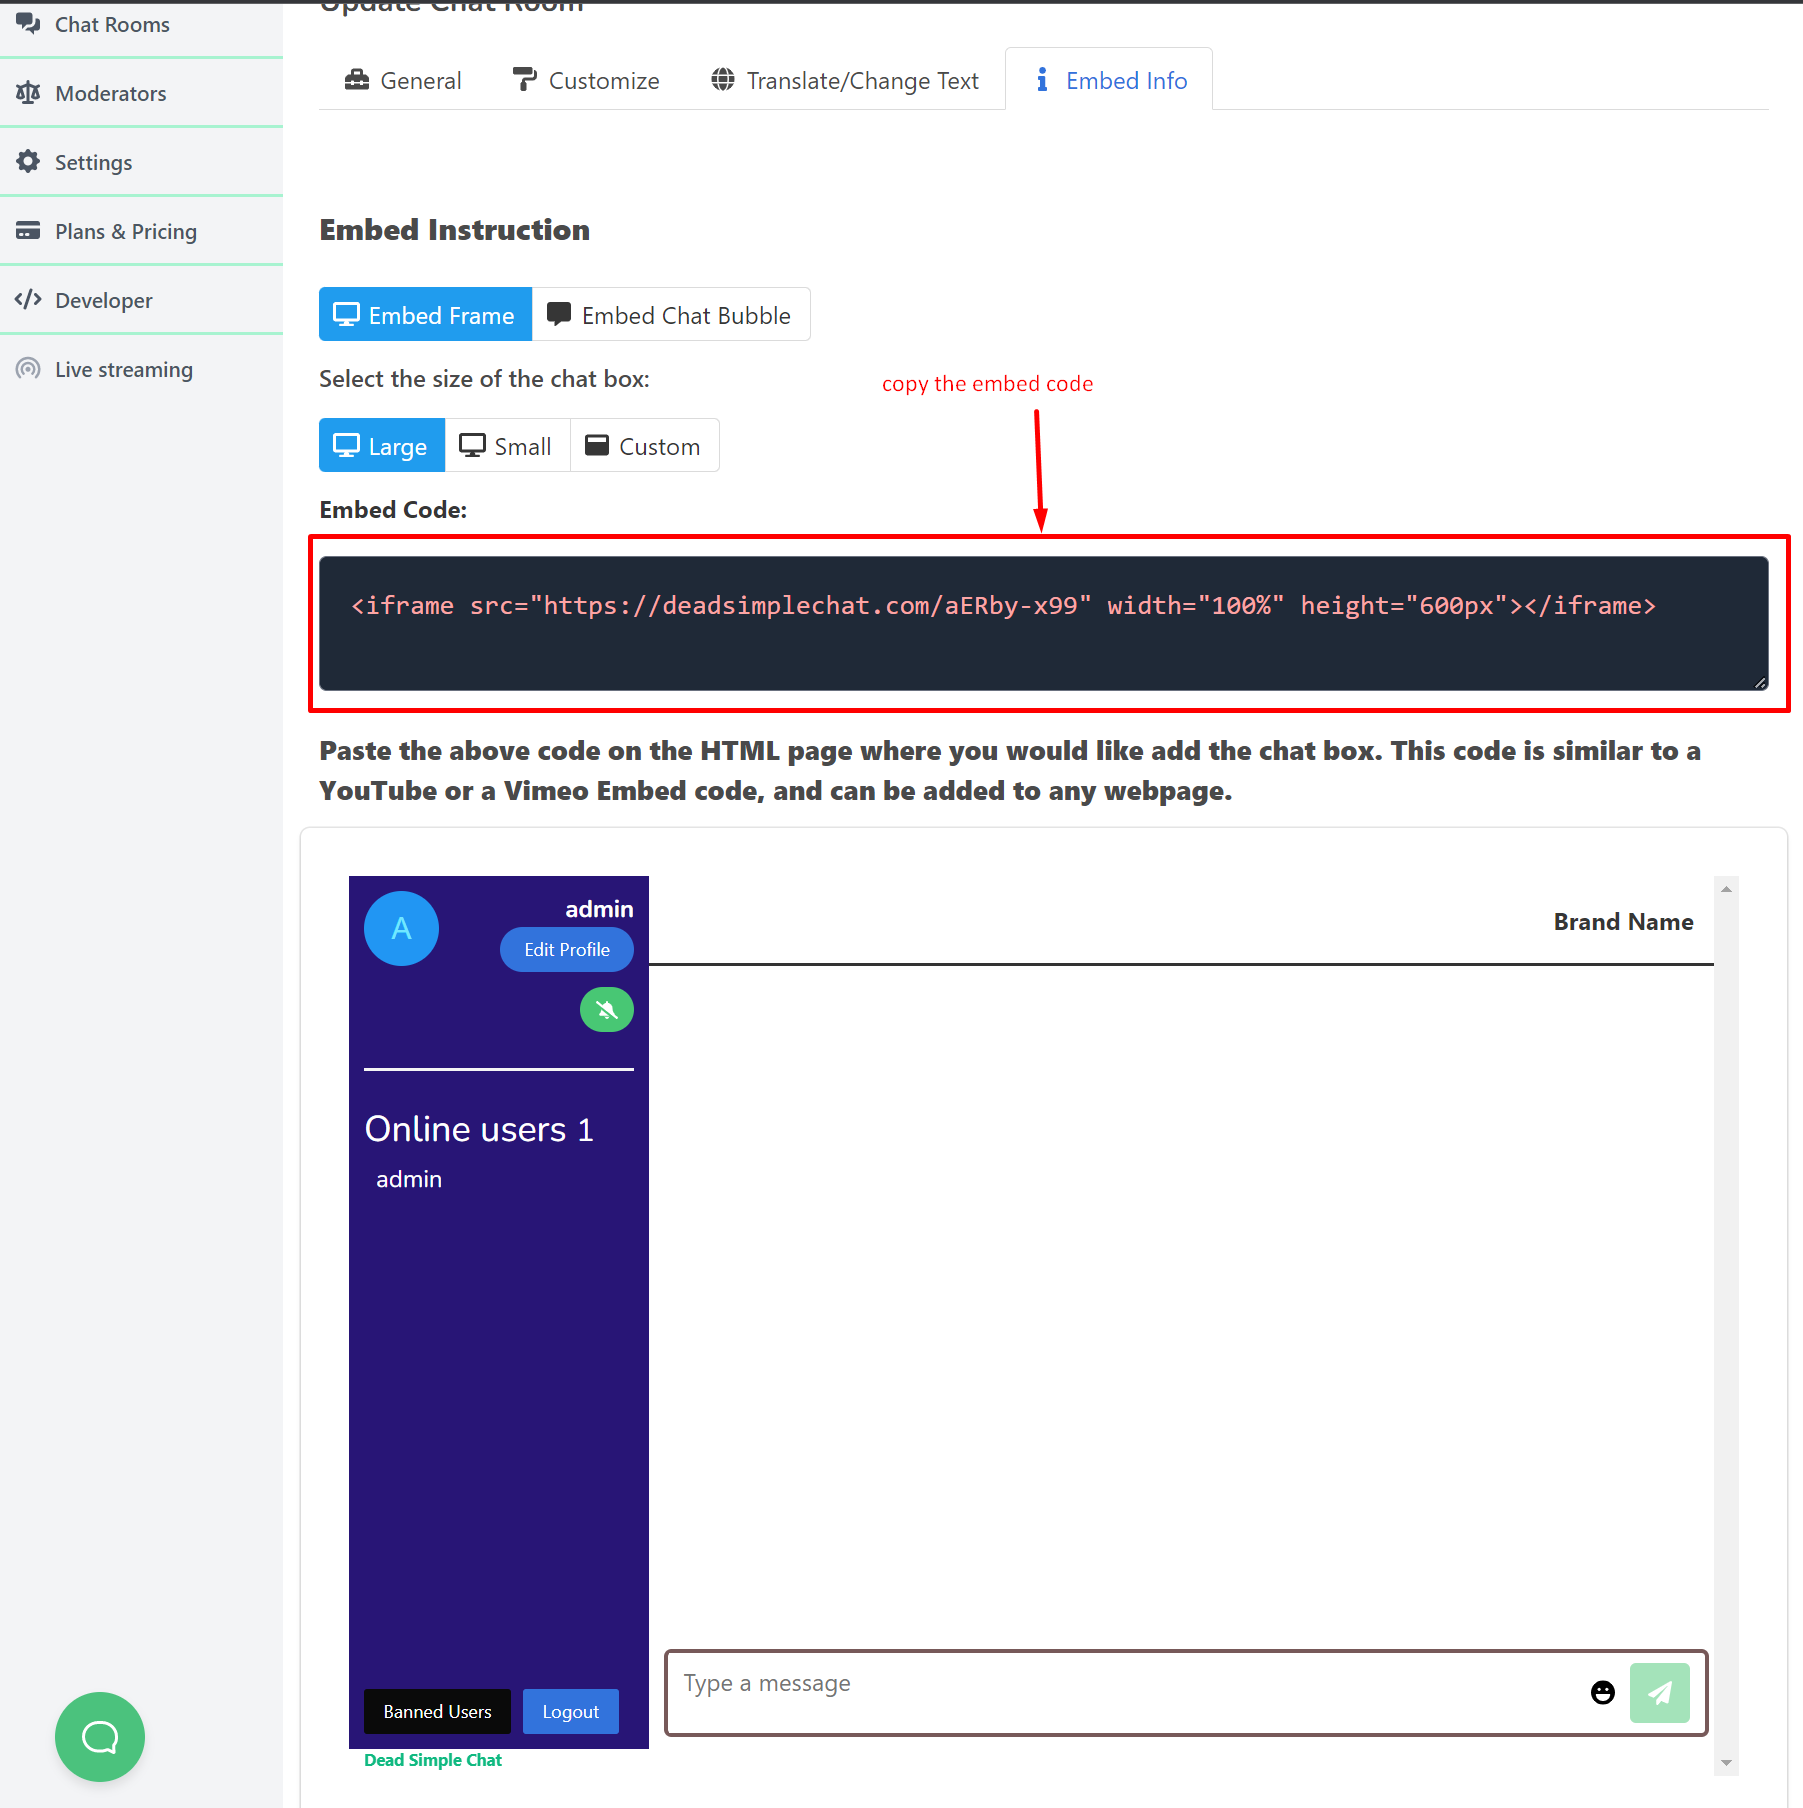
Copy the embed code, it is an iframe code that we will use to add chat to our Django App
We will need the code in our next step
Step 3: Adding the Chat to the Django App
Now let us go to our file chat/views.py here replace the code there with the below code
from django.shortcuts import render

# Create your views here.
from django.http import HttpResponse


def index(request):
return HttpResponse('<h1>Django and Python Chat App</h1><iframe src="https://deadsimplechat.com/CGOC0byXC" width="100%" height="600px"></iframe>')Here we are adding a h1 tag that says Django and Python chat app and adding the iframe chat code that we copied in the previous step
let us visit the server url once again and see what's happening there
go to localhost:8000/chat
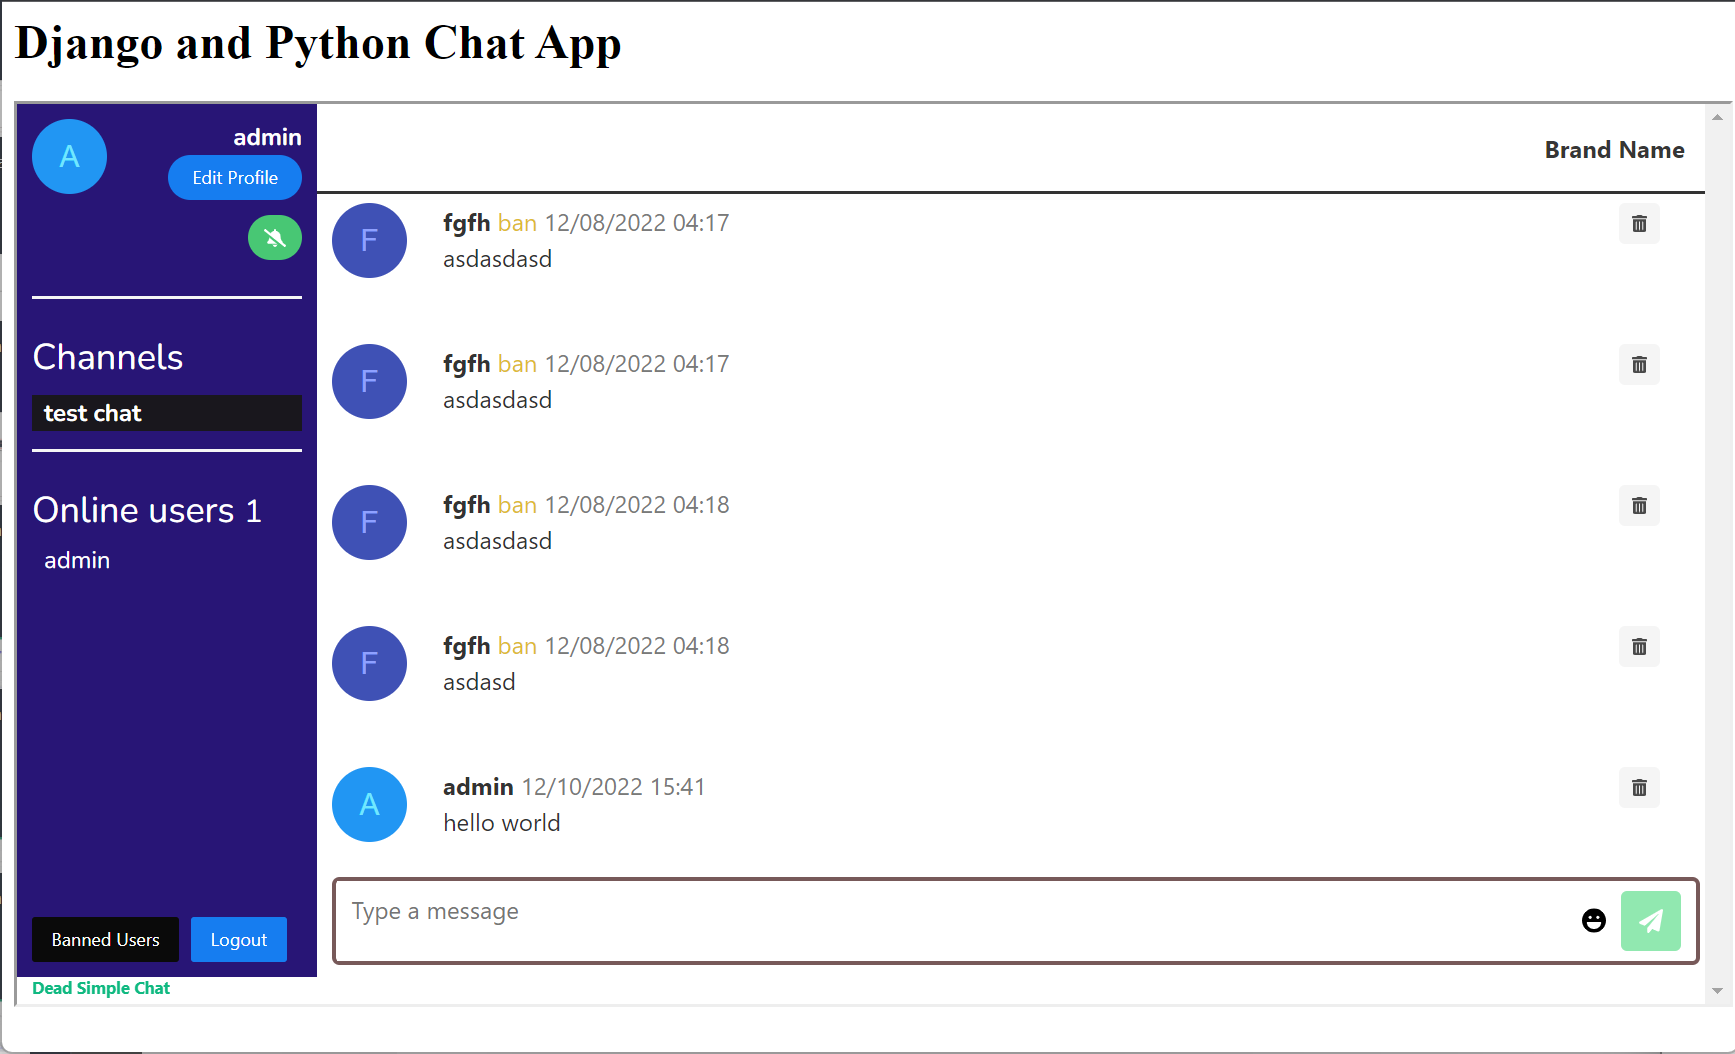
and we have created the Django python chat app.
Bonus: Using Chat APIs and SDK
You can control every aspect of the chat using the Chat APIS and JavaScript SDK
So, we have different Chat SDK and API
- Methods
- Events
- Webhooks
- SSO Single Sign On
Methods : Using Methods you can perform certain actions in the chat room like for example:
- logging in user to the chat room
- logging out the user from the chat room
- Sending a message in the chat room.
- Banning users from the chat room
- Deleting messages from the chat room
You can also create moderators and they can also moderate the chat rooms that are assigned to them
Events : Events are triggered when something happens in the chat room. For example:
- message : message event is triggered when a message is sent in the chat room
- messageHistory : When a new user joins a chat this event is triggered it contains the last 18 messages of the user
- messageDeleted : Whenever a message is deleted from the chat room this event is triggered
- messageLiked: Whenever a message is liked in the chat room this event is triggered.
Using events you can integrate the chat into your app or website. You can trigger specific functionality when some event is triggered.
For example: You can start a video when a message is sent in the chat room and things like that
You can use the SDK Methods to trigger the functionality to make it possible
APIs : We have specific APIs for specific purposes like
- Chat Room API: All about Chat room, like get-all-chat-rooms, get-a-chat-room, delete-chat-room-messages, post-create-a-chat-room, update-a-chat-room, turn-off-chat etc
- Channels API : Channels are chat room inside of chat rooms, all the apis available for the chat rooms are also available for the channels
- Presence API : Presence API lets you know how many users are present in the chat room at any point in time.
- User and Moderator API : User and Moderator api lets you create and update Users and Moderators and also let's you assign moderators to specific chat rooms. You can also validate and invalidate access tokens using the user and moderator API.
- Messages API : Messages API lets you send messages in specific chat rooms or channels as you want to
- Export API : With the help of export API you can export the messages and files of any chat room.
Webhooks :
Webhooks will send a HTTP POST request to any url that you specify, when something happens in the chat room
There are webhooks for all sorts of events like: a new message is sent in the chat room, User joined in the chat room, user left the chat room etc
for a complete list visit the developer documentation
Single Sign On
With Single Sign you can automatically login the users that are on your website or app to chat
There are two types of SSO available
- Basic SSO
- Advanced SSO
Basic SSO : Basic SSO is easy to implement, does not require coding knowledge, but is not as secure as Advanced SSO. Also you cannot login moderators with the help of Basic SSO. learn more about Basic SSO
Advanced Single Sign On : Advanced SSO is more secure with the help of accessToken, but does require a bit of coding knowledge. You can also login moderators along with normal users with the help of Advanced SSO in the chat room. learn more about Advanced SSO
Bonus: Customizing the chat application
You can easily customize the look of the chat to pixel perfection. Go to DeadSimpleChat.com and login to your account
then go to Dashboard -> Chat rooms -> Select the chat room that you want to customize
Then go to edit and customize section of the chat room there you will see our UI based customization tool
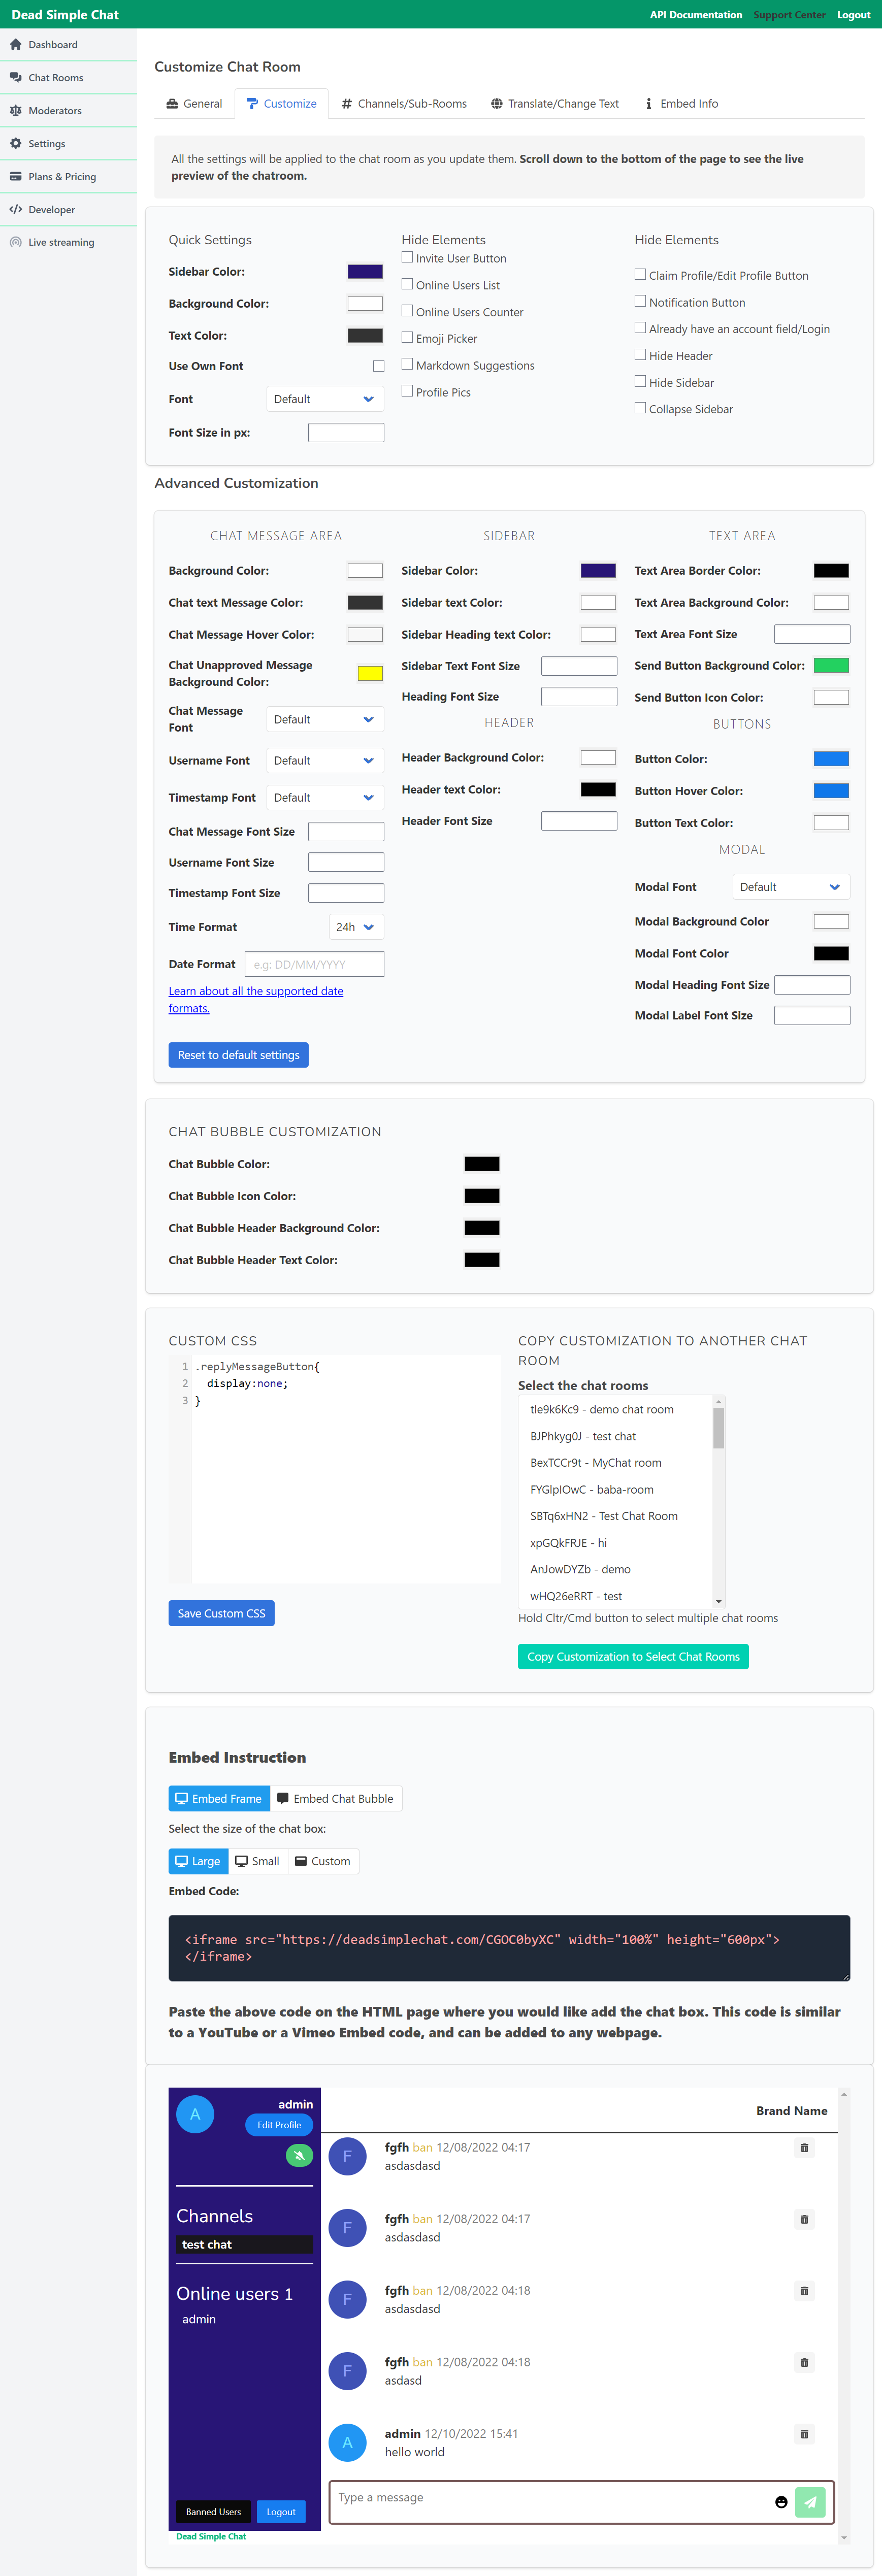
you can also write your oun custom css with our custom css section and class guide.
All the customizations can also easily be copied to other chat rooms as well using the Copy Customization tool
You can also customize the chat room using Chat API and Chat SDK.
Useful Links
This article is about building a chat app with Django and Python, but if you are interested in other technologies as well we have
- Angular Chat Application tutorial
- React Native Chat Application tutorial
- React Js Chat Application tutorial
- Angular Chat with Socket.io and Node Js Tutorial
- Vue Js Chat Application tutorial
Conclusion
Here we have created a complete chat application with Django and python. Let us know if you liked the article on support [at] deadsimplechat.com
Join the conversation.